Love this? Save it for later!
Share the inspiration with your friends
By the fourth attempt at these Cremige Salted Caramel Apfel Cheesecake Bars, I had developed a specific kind of fear. It wasn’t fear of failure, exactly. It was fear of the smell of burnt sugar clinging to my curtains for three days. I had decided that I needed the perfect balance between the sharp tang of fresh apples and the deep, molasses-like richness of homemade salted caramel. I thought I had it right on Tuesday. I was wrong. The caramel separated. It looked oily and sad, floating on top like a bad decision.
So I made it again on Wednesday. This time, I rushed the cooling process. The cheesecake layer cracked because the pan was too warm. It looked like a topographic map of my frustration. I scraped it into the trash, but I kept the crust. That part was perfect. The buttery, crumbly base held up under pressure, just like I hoped my patience would. I ate a spoonful of the ruined filling and realized I was overthinking the texture. I was trying to make it too fancy.
Thursday was the turning point. I stopped watching the clock and started watching the color. I watched the sugar turn from clear to amber, then to a deep copper that smelled like candy stores in childhood. I added the cream slowly, whisking like my life depended on it. The steam rose up and hit my face, warm and sweet. I poured it over the apples and waited. When I cut into it on Friday morning, the knife slid through without resistance. No cracks. No separation. Just layers of creamy, spiced apple and salty-sweet caramel.
I haven’t stopped thinking about that first bite since. It’s not just a dessert; it’s a lesson in slowing down. You know how some recipes feel like chores? This one feels like a reward. I made it for my neighbors last weekend, and they didn’t even ask for the recipe. They just asked if I had any left. I didn’t. That’s when I knew I had finally clicked with this one. It’s messy, it’s rich, and it’s worth every scraped knee and burnt finger.
Why You’ll Love This Recipe
Let’s face it, we’ve all been there. You want something that feels indulgent but also has that comforting, home-baked smell filling the house. These Cremige Salted Caramel Apfel Cheesecake Bars hit that sweet spot perfectly. I’ve tested this version dozens of times, tweaking the spice ratios and the caramel consistency, to bring you a recipe that is actually foolproof. It’s not just another cheesecake; it’s a layered experience that combines the best parts of fall baking with the creamy comfort of a classic dessert.
- Quick & Easy Setup: While the caramel requires a little attention, the whole process comes together in under 90 minutes from start to finish. It’s perfect for busy weeknights or when you need to impress guests without spending all day in the kitchen.
- Simple Ingredients: You likely already have most of this in your pantry. Apples, cream cheese, sugar, and butter. No fancy grocery trips needed. I recommend using a good quality vanilla bean paste if you can find it, but extract works fine too.
- Perfect for Autumn Gatherings: Whether it’s a Thanksgiving potluck, a cozy Sunday dinner, or just a Tuesday night treat, these bars fit the bill. The apple and cinnamon notes scream fall, but the salted caramel makes them modern and cool.
- Crowd-Pleaser: Kids love the sweetness, and adults appreciate the complexity of the salt. It’s one of those rare desserts that satisfies both sweet tooths and those who prefer a bit of savory contrast.
- Unbelievably Delicious: The texture combo is next-level. You get the crunch of the crust, the softness of the baked apple, the dense creaminess of the cheesecake, and the gooey pull of the caramel. It’s comfort food reimagined.
What makes this recipe different is the layering technique. Most people just dump everything in a bowl. Here, we build it. The apples are cooked slightly first to remove excess moisture, which prevents a soggy bottom. The caramel is made from scratch, not bought from a jar, which gives it a depth of flavor you just can’t get from the store. It’s the kind of recipe that makes you close your eyes after the first bite and forget about your to-do list for a moment.
What Ingredients You Will Need
This recipe uses simple, wholesome ingredients to deliver bold flavor and satisfying texture without the fuss. The key to success here is quality over quantity. Since there are only a few components, each one needs to shine. I like to use crisp, tart apples because they hold their shape better than soft varieties. For the caramel, don’t skimp on the salt. It’s the secret weapon that makes the sweetness pop.
For the Crust
- Graham Cracker Crumbs: 1 ½ cups (about 150g). I prefer making my own by crushing plain biscuits, but store-bought works in a pinch. Look for crumbs that are fine and uniform.
- Unsalted Butter: 6 tablespoons (85g), melted. This binds the crust together. Make sure it’s fully melted but not hot.
- Granulated Sugar: 2 tablespoons (25g). Just a touch to sweeten the base slightly.
- Cinnamon: ½ teaspoon. Adds warmth right from the bottom layer.
For the Apple Layer
- Granny Smith Apples: 3 medium apples, peeled and diced. These stay firm during baking. If you use Gala or Fuji, they might turn into mush.
- Butter: 1 tablespoon. For sautéing the apples.
- Brown Sugar: 2 tablespoons. Adds a molasses note that pairs well with the apples.
- Apple Cider: 2 tablespoons. Helps deglaze the pan and infuses flavor.
For the Cheesecake Layer
- Cream Cheese: 16 oz (450g), full-fat, softened. This is crucial. Do not use low-fat cheese; it will be grainy. I recommend Philadelphia or a similar high-quality brand for best texture.
- Sugar: ¾ cup (150g). Granulated white sugar blends best here.
- Eggs: 2 large eggs, room temperature. Cold eggs can cause the mixture to curdle.
- Vanilla Extract: 1 teaspoon. Pure vanilla is worth the extra cost.
- Sour Cream: ½ cup (120g). This adds tang and keeps the cheesecake moist.
For the Salted Caramel
- Granulated Sugar: 1 cup (200g). This is for the caramel base.
- Heavy Cream: ½ cup (120ml), warmed. Warming the cream prevents the caramel from seizing up when added.
- Unsalted Butter: 3 tablespoons (42g).
- Flaky Sea Salt: 1 teaspoon. Maldon salt is great, but any flaky salt works.
If you are gluten-sensitive, you can swap the graham cracker crumbs for a gluten-free alternative or crushed gluten-free oats. For a dairy-free option, use coconut cream instead of heavy cream and vegan butter for the crust, though the texture will be slightly different.
Equipment Needed
You don’t need a fancy kitchen to make these bars, but having the right tools makes the process much smoother. The most important piece of equipment is an 8×8 inch square baking pan. Glass pans are great because they show the browning on the bottom, but metal pans conduct heat more evenly. I always line my pan with parchment paper, leaving an overhang on the sides. This is non-negotiable. It allows you to lift the entire block of bars out of the pan once they cool, making cutting and serving so much easier. Without it, you’ll be digging around with a spatula, and nobody wants that.
You’ll also need a medium saucepan for the caramel. A light-colored stainless steel or enamel pan is best so you can clearly see the color of the sugar as it melts. Dark pans hide the color change, which is how you end up with burnt caramel. A whisk is essential for the cheesecake mixture to incorporate air and ensure a smooth texture. Finally, a mixer (hand or stand) will save your arms, though you can mix by hand if you have strong wrists. Just be sure to scrape the sides of the bowl thoroughly to avoid pockets of unmixed cream cheese.
Preparation Method
Let’s get into the nitty-gritty. This process is sequential, so take your time. Rushing is the enemy of good caramel and smooth cheesecake.
Step 1: Prep the Pan and Oven
First, preheat your oven to 350°F (175°C). Take your 8×8 inch baking pan and line it with parchment paper. Leave a generous overhang on the long sides—think of it as handles. Spray the parchment with non-stick spray or brush it with a little melted butter. This ensures nothing sticks.
Step 2: Make the Crust
In a medium bowl, mix the graham cracker crumbs, melted butter, sugar, and cinnamon. Stir until it looks like wet sand. Press this mixture firmly into the bottom of your prepared pan. Use the bottom of a glass to pack it down evenly. You want it tight. If it’s loose, the bars will fall apart. Bake this crust for 10 minutes. While it bakes, let it cool on a wire rack. You don’t need to turn the oven off.
Step 3: Cook the Apples
In a small skillet, melt the tablespoon of butter over medium heat. Add the diced apples and brown sugar. Sauté for about 5-7 minutes until the apples are slightly softened but still hold their shape. Add the apple cider and cook for another minute until the liquid reduces. Spread this mixture over the cooled crust. It doesn’t need to be perfectly even; rustic is good here.
Step 4: Make the Cheesecake Filling
In a large bowl, beat the softened cream cheese and sugar until smooth and creamy. This might take 2-3 minutes. Scrape down the sides of the bowl. Add the eggs one at a time, mixing on low speed just until incorporated. Overmixing at this stage adds too much air, which can cause cracks. Stir in the sour cream and vanilla by hand with a spatula. Pour this mixture over the apple layer. Smooth the top with a spatula. Bake for 30-35 minutes. The edges should be set, but the center should still have a slight jiggle. It will firm up as it cools.
Step 5: Make the Salted Caramel
While the cheesecake bakes, make the caramel. In a saucepan, melt the sugar over medium heat. Do not stir. Instead, swirl the pan occasionally. The sugar will melt and turn amber. Once it’s a deep golden color, remove from heat. Carefully whisk in the warmed heavy cream and butter. It will bubble up vigorously, so be careful. Stir in the sea salt. Let it cool for 5 minutes until it thickens slightly.
Step 6: Assemble and Chill
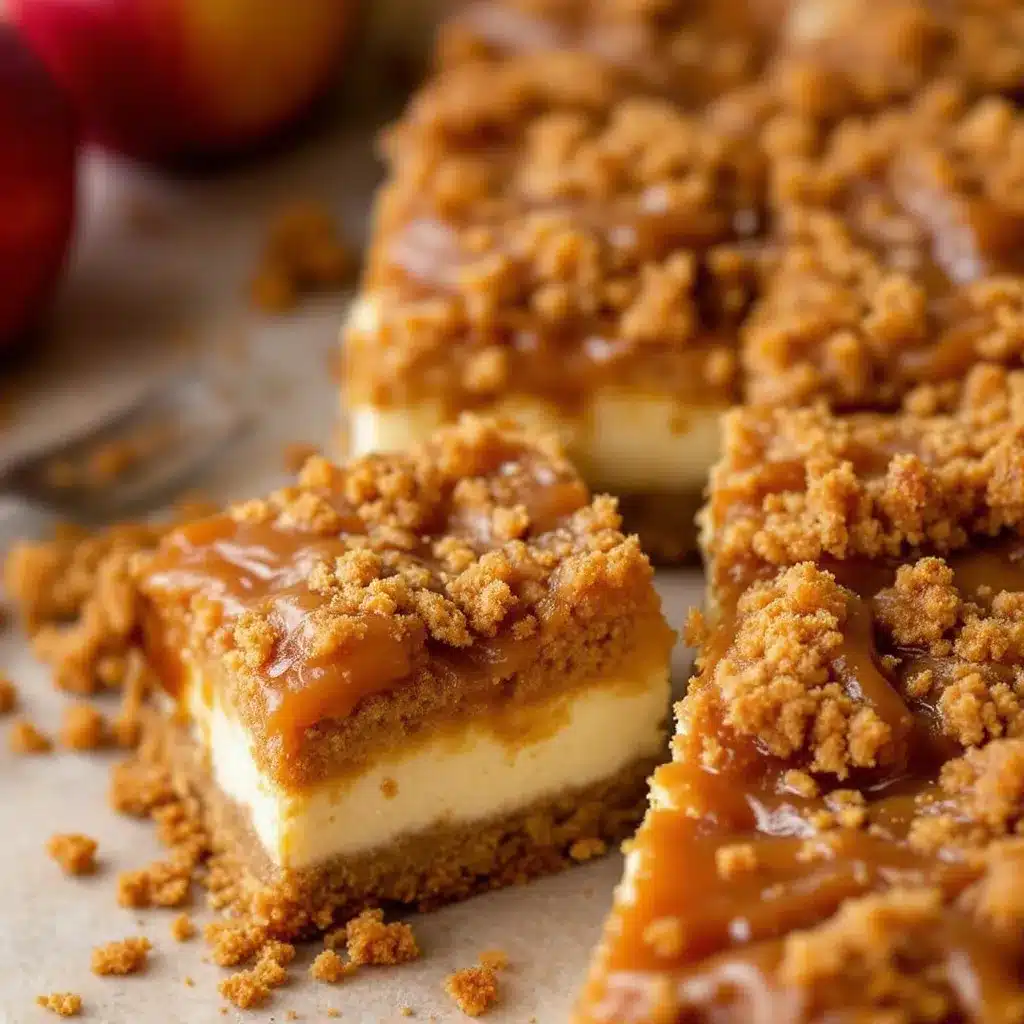
Once the cheesecake is done, remove it from the oven. Pour the warm caramel over the top. Use a knife or skewer to swirl the caramel into the cheesecake slightly, creating a marbled effect. Let it cool completely at room temperature, then refrigerate for at least 4 hours, or preferably overnight. This chilling time is critical for the bars to set and for the flavors to meld.
Cooking Tips & Techniques
I learned the hard way that temperature control is everything here. When making the caramel, if you see smoke, you’ve gone too far. Burnt sugar tastes bitter and can’t be fixed. If your sugar starts burning, take the pan off the heat immediately and add the cream quickly to stop the cooking process. It might not be perfect, but it’s salvageable.
For the cheesecake, the biggest mistake people make is taking it out too early. It’s scary to see a jiggle in the center, but trust the process. The residual heat will continue to cook it as it cools. If you wait until it’s completely firm in the oven, it will be overbaked and dry. A slight wobble is your friend.
Also, make sure your cream cheese is truly room temperature. If it’s cold, you’ll get lumps that no amount of whisking will remove. If you forgot to take it out, microwave it in 10-second bursts until it’s soft to the touch. This saves so much frustration later.
Variations & Adaptations
While the classic apple and caramel combo is hard to beat, there are plenty of ways to tweak this recipe. For a spicier kick, add a pinch of nutmeg or cardamom to the apple layer. If you’re not a fan of caramel, you could skip it entirely and top the bars with a simple vanilla glaze or fresh whipped cream. For a fruitier version, swap half the apples for pears. Pears have a milder flavor and pair beautifully with the salted caramel.
If you want to reduce the sugar, you can use a sugar substitute in the crust and filling, but be aware that it may affect the texture and browning of the caramel. For a nutty twist, add chopped pecans or walnuts to the crust. I personally love adding a layer of thin apple slices on top of the cheesecake before baking for a more decorative look. Just brush them with a little melted butter and sprinkle with cinnamon.
Serving & Storage Suggestions
These bars are best served cold, right out of the refrigerator. The cold temperature helps the layers hold their shape when cut. Use a sharp knife and wipe it clean between cuts for neat slices. They pair wonderfully with a cup of hot coffee or tea, which cuts through the richness. You could also serve them with a dollop of unsweetened whipped cream for added texture.
For storage, keep the bars in the refrigerator in an airtight container. They will stay fresh for up to 5 days. If you want to make them ahead, you can freeze the uncut block for up to 2 months. Wrap it tightly in plastic wrap and then aluminum foil. Thaw it in the refrigerator overnight before slicing. The flavors actually improve after a day or two, as the caramel soaks into the cheesecake a bit more.
Nutritional Information & Benefits
While these bars are definitely a treat, they offer some interesting nutritional points. Apples provide fiber and vitamin C, especially if you leave the skin on (though I prefer peeled for texture). Cream cheese adds calcium and protein, though it is high in saturated fat. The salted caramel adds a quick energy boost from the sugar. Overall, this recipe is not suitable for low-carb or keto diets due to the sugar content in the caramel and crust. However, in moderation, it’s a balanced indulgence. One bar contains approximately 350-400 calories, depending on the size of the slice.
Conclusion
Making Cremige Salted Caramel Apfel Cheesecake Bars is more than just baking; it’s about embracing the mess and the wait. It’s about learning that the best things in life require a little patience and a lot of stirring. I hope you try this recipe and find your own version of perfection. Don’t be afraid to tweak it to suit your taste. Maybe you like more caramel, or maybe you prefer your apples softer. This recipe is a canvas.
Once you’ve made them, I’d love to hear how they turned out. Did you burn the caramel? Did the crust hold? Share your stories in the comments below. And if you make them, tag me on social media or share a photo. There’s nothing better than seeing someone else enjoy a dessert you created. Now, go preheat that oven and get cooking. You won’t regret it.
Frequently Asked Questions
Can I use a different type of apple?
Yes, but stick to firm varieties like Honeycrisp, Pink Lady, or Braeburn. Soft apples like Red Delicious will turn into sauce and make the bars soggy.
Can I make the caramel ahead of time?
Absolutely. You can make the caramel up to 3 days in advance. Store it in a jar in the fridge. Reheat it gently in the microwave or on the stove before pouring it over the cheesecake.
Why did my cheesecake crack?
Cracks usually happen from overmixing (adding too much air) or overbaking. Make sure to mix the eggs on low speed and take the cheesecake out when it still has a slight jiggle in the center.
Can I freeze these bars?
Yes, they freeze very well. Wrap the whole block tightly in plastic wrap and foil. They can be frozen for up to 2 months. Thaw in the fridge overnight.
Do I need a water bath for the cheesecake?
For bars in a square pan, a water bath is usually not necessary. The smaller volume of batter cooks more evenly than a full-sized round cheesecake. Just keep an eye on the edges.
Pin This Recipe!
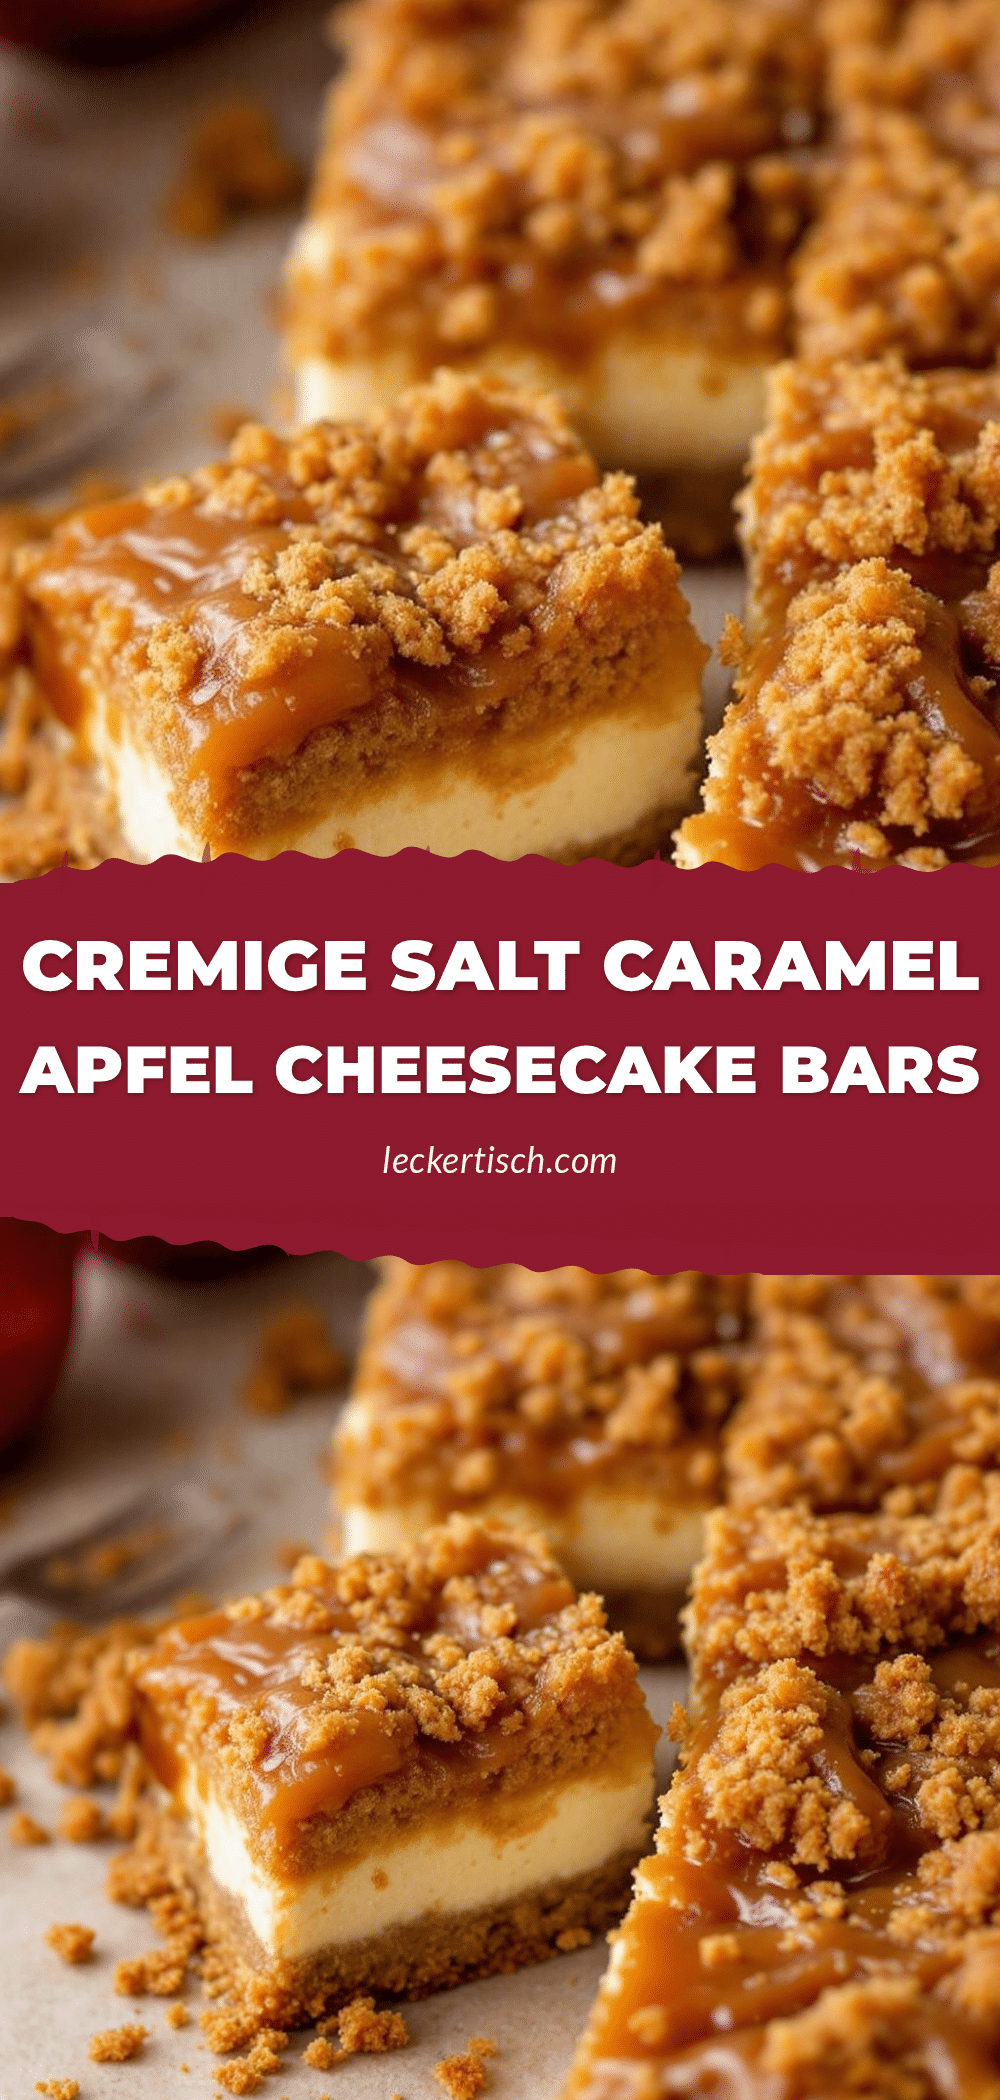
Cremige Salted Caramel Apfel Cheesecake Bars
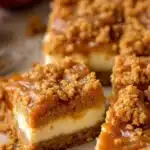
Diese cremigen Cheesecake-Bars mit Salz-Karamell und Äpfeln kombinieren eine knusprige Kruste, saftige Äpfel und eine reichhaltige Karamellschicht. Ein perfektes Herbstdessert, das sich durch einfache Zutaten und eine foolproof-Zubereitung auszeichnet.
- Prep Time: 30 Minuten
- Cook Time: 50 Minuten
- Total Time: 4 Stunden 20 Minuten (inkl. Kühlzeit)
- Yield: 9 Portionen
- Category: Dessert
- Cuisine: Amerikanisch
Ingredients
- Für die Kruste: 1 ½ Tassen (150g) Graham-Cracker-Krümel
- Für die Kruste: 6 Esslöffel (85g) ungesalzene Butter, geschmolzen
- Für die Kruste: 2 Esslöffel (25g) Kristallzucker
- Für die Kruste: ½ Teelöffel Zimt
- Für die Apfelschicht: 3 mittelgroße Granny Smith Äpfel, geschält und gewürfelt
- Für die Apfelschicht: 1 Esslöffel Butter
- Für die Apfelschicht: 2 Esslöffel brauner Zucker
- Für die Apfelschicht: 2 Esslöffel Apfelsaft
- Für die Cheesecake-Füllung: 16 Unzen (450g) Frischkäse, fettreich, auf Raumtemperatur
- Für die Cheesecake-Füllung: ¾ Tasse (150g) Kristallzucker
- Für die Cheesecake-Füllung: 2 große Eier, Raumtemperatur
- Für die Cheesecake-Füllung: 1 Teelöffel Vanilleextrakt
- Für die Cheesecake-Füllung: ½ Tasse (120g) Sauerrahm
- Für das Salz-Karamell: 1 Tasse (200g) Kristallzucker
- Für das Salz-Karamell: ½ Tasse (120ml) Schlagsahne, erwärmt
- Für das Salz-Karamell: 3 Esslöffel (42g) ungesalzene Butter
- Für das Salz-Karamell: 1 Teelöffel flockiges Meersalz
Instructions
- Heizen Sie den Ofen auf 350°F (175°C) vor. Auskleiden Sie eine 8×8-Zoll-Backform mit Backpapier, lassen Sie einen Überhang an den langen Seiten und fetten Sie das Papier ein.
- Mischen Sie Graham-Cracker-Krümel, geschmolzene Butter, Zucker und Zimt in einer Schüssel. Drücken Sie die Mischung fest auf den Boden der Form und backen Sie sie 10 Minuten lang. Lassen Sie die Kruste auf einem Gitter abkühlen.
- Schmelzen Sie die Butter in einer kleinen Pfanne bei mittlerer Hitze. Fügen Sie die gewürfelten Äpfel und den braunen Zucker hinzu und braten Sie sie 5-7 Minuten lang, bis sie leicht weich sind. Fügen Sie den Apfelsaft hinzu und kochen Sie für eine weitere Minute, bis die Flüssigkeit reduziert ist. Verteilen Sie die Äpfel auf der abgekühlten Kruste.
- Schlagen Sie den Frischkäse und den Zucker in einer großen Schüssel glatt. Fügen Sie die Eier einzeln bei niedriger Geschwindigkeit hinzu, nur bis sie eingearbeitet sind. Rühren Sie Sauerrahm und Vanille von Hand unter. Gießen Sie die Mischung über die Apfelschicht.
- Backen Sie den Cheesecake 30-35 Minuten, bis die Ränder fest sind, die Mitte aber noch leicht wackelt.
- Während der Cheesecake backt, schmelzen Sie den Zucker in einem Topf bei mittlerer Hitze, ohne zu rühren, bis er bernsteinfarben ist. Nehmen Sie vom Herd, rühren Sie die erwärmte Sahne und Butter vorsichtig ein und fügen Sie das Meersalz hinzu. Lassen Sie das Karamell 5 Minuten abkühlen.
- Gießen Sie das warme Karamell über den fertigen Cheesecake und schichten Sie es leicht ein. Lassen Sie die Bars bei Raumtemperatur vollständig abkühlen und kühlen Sie sie dann mindestens 4 Stunden (vorzugsweise über Nacht) ab, bevor Sie sie schneiden.
Notes
Stellen Sie sicher, dass der Frischkäse und die Eier Raumtemperatur haben, um Klumpen zu vermeiden. Rühren Sie die Eier für den Cheesecake nur auf niedriger Geschwindigkeit, um Risse zu vermeiden. Das Karamell kann bis zu 3 Tage im Voraus hergestellt und im Kühlschrank aufbewahrt werden.
Nutrition
- Serving Size: 1 Bar (aus einem 8x8
- Calories: 375
- Sugar: 35
- Sodium: 180
- Fat: 22
- Saturated Fat: 13
- Carbohydrates: 42
- Fiber: 1
- Protein: 5
Keywords: Cheesecake Bars, Salted Caramel, Apfel Dessert, Herbstrezepte, Easy Baking, Cream Cheese, Karamell